Thermal Optics for Dummies
Have you been thinking about hunting game at night but feel overwhelmed by all the technical details of thermal optics? In this article, we will cover Thermal Optics for Dummies to help you get started.
Thermal optics are a game-changer for hunters, especially when the sun sets and the thrill of the hunt begins. If you find the jargon, technical specs, and endless models intimidating, fret not—you’re in the right place!
By the time you finish reading, you’ll know exactly what features to look for, how they impact your hunting experience, and how to confidently choose the right thermal scope or scanner.
Here’s what we’ll cover in simple, easy-to-digest terms:
- How thermal optics work
- Core sizes & image quality
- Objective lenses & how they affect performance
- Base magnification & resolution
- Millikelvin ratings & what they mean
- Display resolution explained
- Field of view & its importance
- Models with & without a laser rangefinder (LRF)
- Refresh rates
- Environmental factors like humidity & fog
- Setting a budget based on your needs
What Are Thermal Optics & How Do They Work?
Thermal optics detect heat signatures, transforming invisible infrared radiation into a visible image. Unlike night vision, thermal optics don’t rely on ambient light, making them incredibly effective in complete darkness or challenging weather conditions.
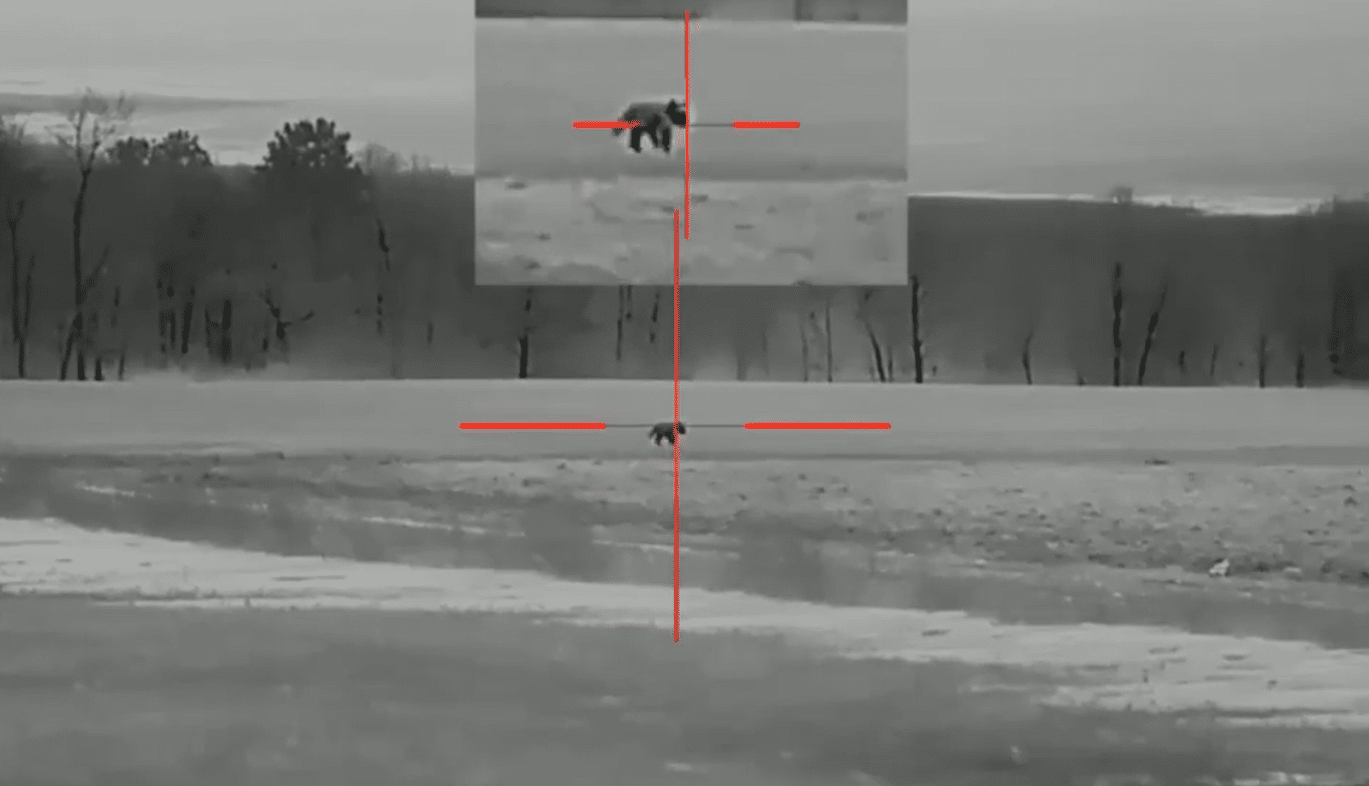
When you look through a thermal scope or scanner, you’re essentially viewing a heat map. Warmer objects, like animals, appear brighter, while cooler surroundings show up as darker colors. This ability to “see heat” is why thermal optics are a hunter’s best friend when pinpointing predators at night—even through brush or minimal cover.
Understanding Core Sizes
The core is the brain of a thermal device, where the magic happens. Its size determines image clarity and detail. Here are the most common core sizes and what they generally mean:
- 256×192 (Entry-level) $ – Basic clarity, suitable for short-range detection. Affordable but limited in detail.
- 384×288 (Mid-tier) $$ – A nice balance of affordability and image quality. Ideal for most intermediate needs.
- 640×512 (Top-tier standard) $$$ – High resolution with excellent detail. Perfect for targeting small predators further out.
- 1280×1024 (Premium) $$$$ – Incredible clarity and superior detail for those who want the best technology available.
Pro Tip: Core size shouldn’t be your only concern, but it strongly impacts what you see through your thermal device – especially at range.
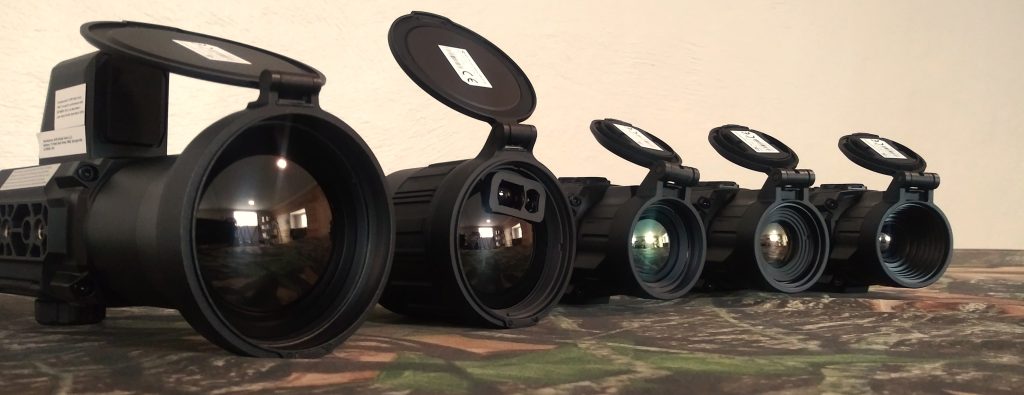
Objective Lens: Define Your Scope’s Power
The objective lens is the device’s front lens, which is responsible for gathering infrared light. Its size (measured in millimeters). Larger lenses collect more thermal energy, which enhances detail at a distance.
Here’s a breakdown:
- 13mm-35mm (Short range): Compact and lightweight, ideal for shorter distances.
- 50mm (Mid-range): Great versatility for covering most intermediate and diehard hunting scenarios.
- 50-70mm+ (Long range): Superior detail for spotting distant predators, though heavier and pricier.
Choose a lens size that suits your typical hunting environment. Wide-open fields? Go big. Hunting in dense cover? A smaller lens will suffice in most cases, but it comes down to base magnification, which we discuss below.
Base Magnification
Magnification stretches your view, but there’s a catch—the more you zoom in, the more pixelated the image becomes. Base magnification refers to the default zoom level without losing resolution. For example:
- A base magnification of 1x – 2.5x offers a wide field of view for scanning.
- A base magnification of 3x – 4x provides clarity for distant targets but sacrifices the field of view.
You’ll want to balance base magnification and digital zoom to suit your hunting style.
What Are Millikelvin (mK) / NETD Ratings?
This term sounds intimidating but is straightforward. Noise Equivalent Temperature Difference (NETD) is a key factor in the performance of thermal imaging sensors, impacting their ability to detect temperature differences. Measured in millikelvin (mK), NETD shows how much “noise” interferes with a thermal sensor’s signal. The lower the NETD, the better the sensor can distinguish small differences in temperature—leading to sharper, more detailed images.
A NETD scale rates sensors as follows:
- Excellent: <18 – <25 mK
- Good: <35 – <40 mK
- Acceptable: <50 mK
Low NETD values are especially important in challenging conditions like cold weather or fog, where temperature differences are minimal. Simply put, the lower the NETD, the better your thermal imaging experience!
Decoding Display Resolution
Display resolution affects the image you see through your device. Here’s a quick reference for common resolutions:
- 160×120 = Budget-friendly, basic clarity.
- 320×240 = Sufficient detail for casual use.
- 384×288 = A good middle ground.
- 640×512 = Exceptional sharpness and detail.
- 1024×768 and above = Ultra-clear performance, ideal for serious hunters.
The higher the resolution, the clearer your thermal image—but remember, higher resolutions tend to cost more.
Field of View (FOV)
Field of view refers to how much of the landscape you can see through your thermal optic. A wider FOV makes it easier to spot moving targets, while a narrower FOV is better for precise, long-range shots.
For close-quarters hunting or areas with lots of movement, prioritize a wide FOV. For open fields and long-range hunts, a narrow FOV with more focus will be your go-to.
Base magnification and objection lens size also affects field of view as well, which is why so many of these features directly coincide with each other.
Models With & Without a Rangefinder
Some thermal optics include a laser rangefinder (LRF), which measures the distance to your target. It’s an incredibly handy feature, especially for precise long-range shots, but it also comes at a higher price.
If you’re hunting at short-to-medium range, an LRF may be unnecessary. Consider your budget and hunting needs before opting for this premium feature.
Refresh Rates
Refresh rate refers to how quickly the image on your thermal optic updates. A higher refresh rate (e.g., 50Hz, 60Hz or even 90 Hz) provides smoother motion tracking and less lag.
So in easy speak, think, high refresh rates = faster follow up shots, silky smooth scanning and easier on the eyes.
And about that occasional soft “clicking” you might hear? That’s the device recalibrating its sensors to maintain accuracy. It’s normal and ensures your scope remains reliable during a hunt.
Environmental Factors
Thermal optics work wonders in darkness but struggle to perform in certain conditions. Fog, heavy rain, and high humidity scatter infrared radiation, reducing image quality. Low-mK devices tend to handle these challenges better.
If you hunt in areas with frequent weather changes, invest in a thermal optic known for high sensitivity and performance across various conditions.
Setting Your Budget
Thermal optics come in three tiers. A good rule of thumb to consider across the entire spectrum is that for every additional $500 or $1000 you spend, expect to see a respectable increase in image quality, features and performance.
- Entry-level ($500-$1,500): Basic models with limited range and features. Great for beginners.
- Mid-level ($2,000-$4,000): Reliable scopes with improved resolution, range, and features. Ideal for dedicated hunters.
- Top-tier ($5,000+): Premium performance with all the bells and whistles—perfect for professional use and serious hunters who demand the best.
Start with a budget and match it to your hunting style and needs. You can always upgrade later! The “buy once, cry once mantra” is hard to justify for hunters just getting started in this costly category of hunting gear.
Start Shopping with Confidence
Thermal optics don’t have to be overwhelming. By focusing on the features that matter most to your hunting experience, you can find the perfect scope or scanner that balances performance and budget.
Need help? At Predator Hunter Outdoors, we pride ourselves on providing expert advice and top-notch thermal devices across the entire budget. We’re here to make your first (or next) thermal purchase a breeze. Explore our selection or reach out—we’re happy to guide you!
That’s a wrap on Thermal Optics for Dummies. We hope you found this helpful. Good luck hunting!